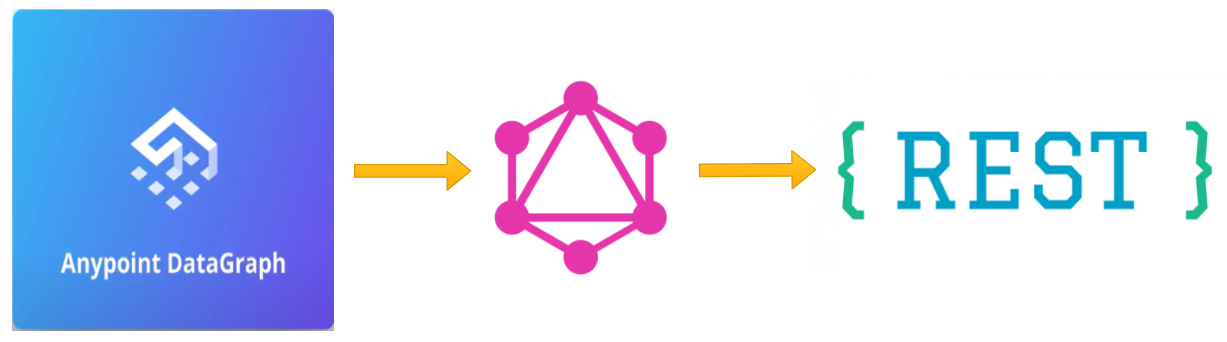
In this blog I have tried to showcase a step by step demo on how to create a Datagraph API using a REST API with the Anypoint Datagraph in the MuleSoft Anypoint Platform.

Please read our previous blog to understand What is a Datagraph.
Let's get started
Prerequisites & Setup
Use the Datagraph Demo Github Link and use the table_schema.md file to create the tables in your mysql database.
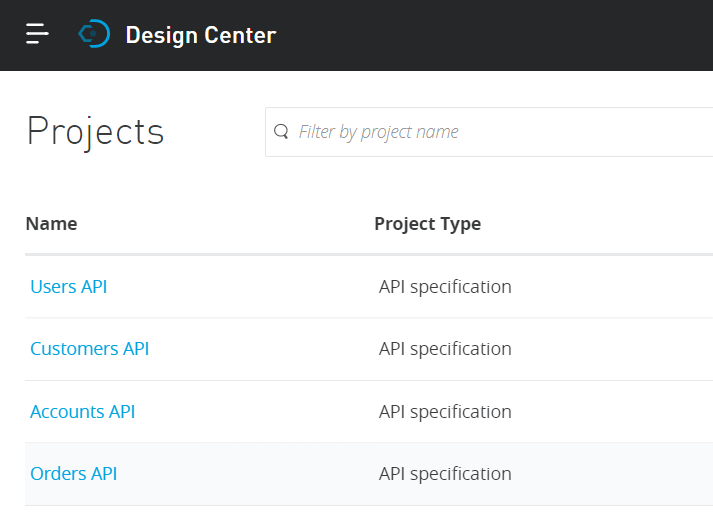
Create the corresponding RAML specification in an Anypoint Platform account. You could use a new trial account.
Implement each API in Anypoint Studio and get the details from the underlying database. Please refer to the jar file provided in the above Github link.
Manage the published API in API Manager with basic-endpoint as the managing type. Use the auto-discovery-id in your implementation and deploy the implementation to Cloudhub.
For this blog you can take any one schema and implement it, say Customers API. I have included three more API in the screenshots below, but those APIs will be used in the next blog to showcase the example for collaboration, linking and merging.
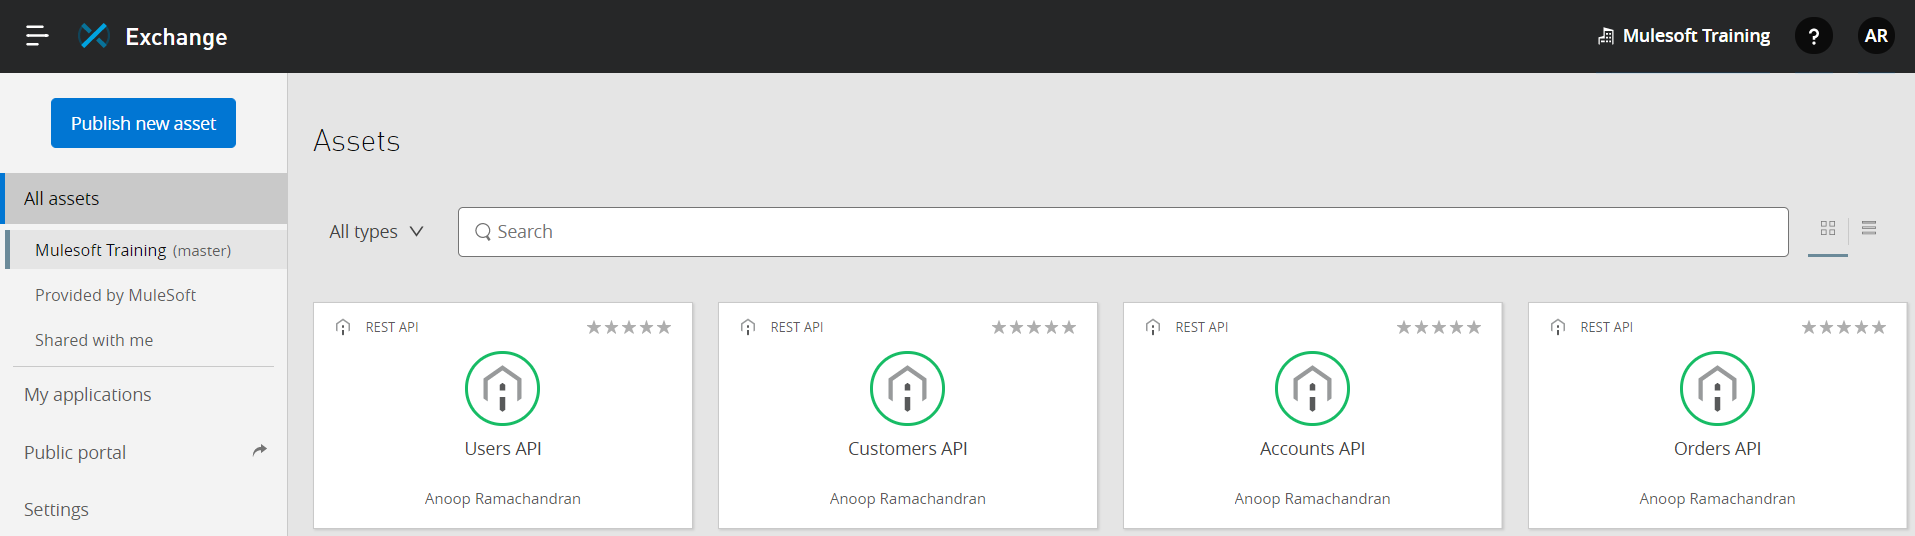
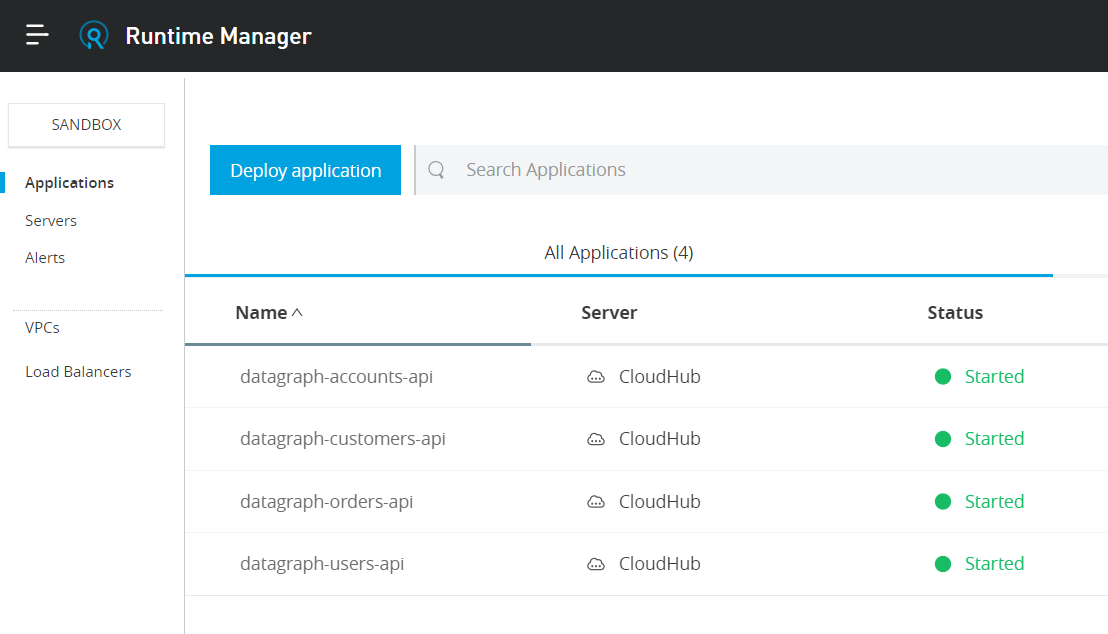
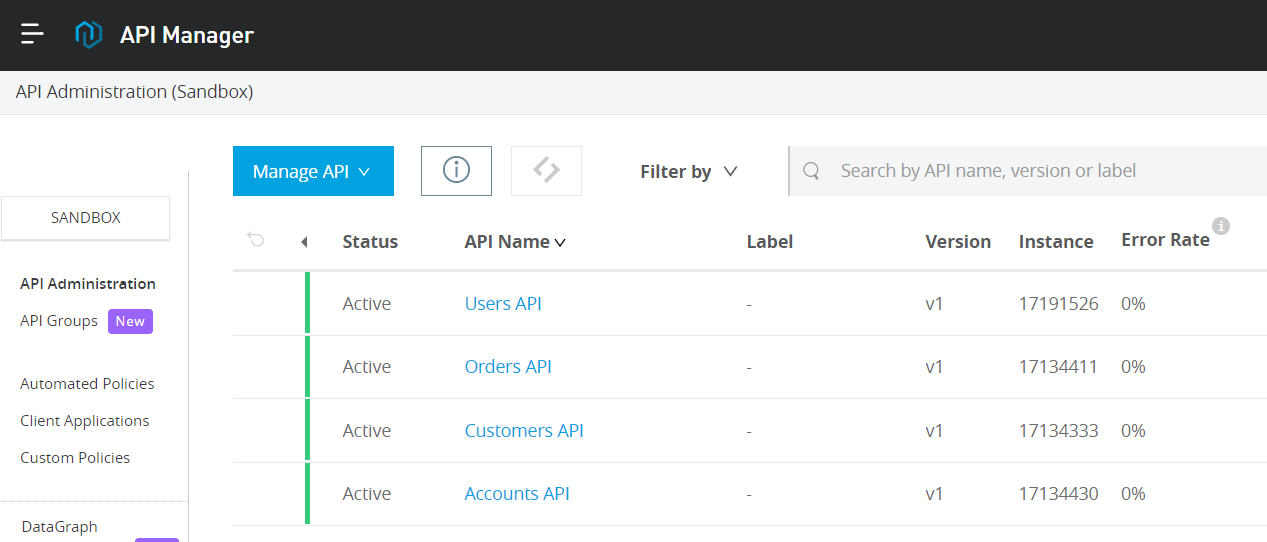
When the above steps are completed, we should have API’s as specified in the below screenshots.
Add Customers API to DataGraph Unified Schema
- Navigate to DataGraph
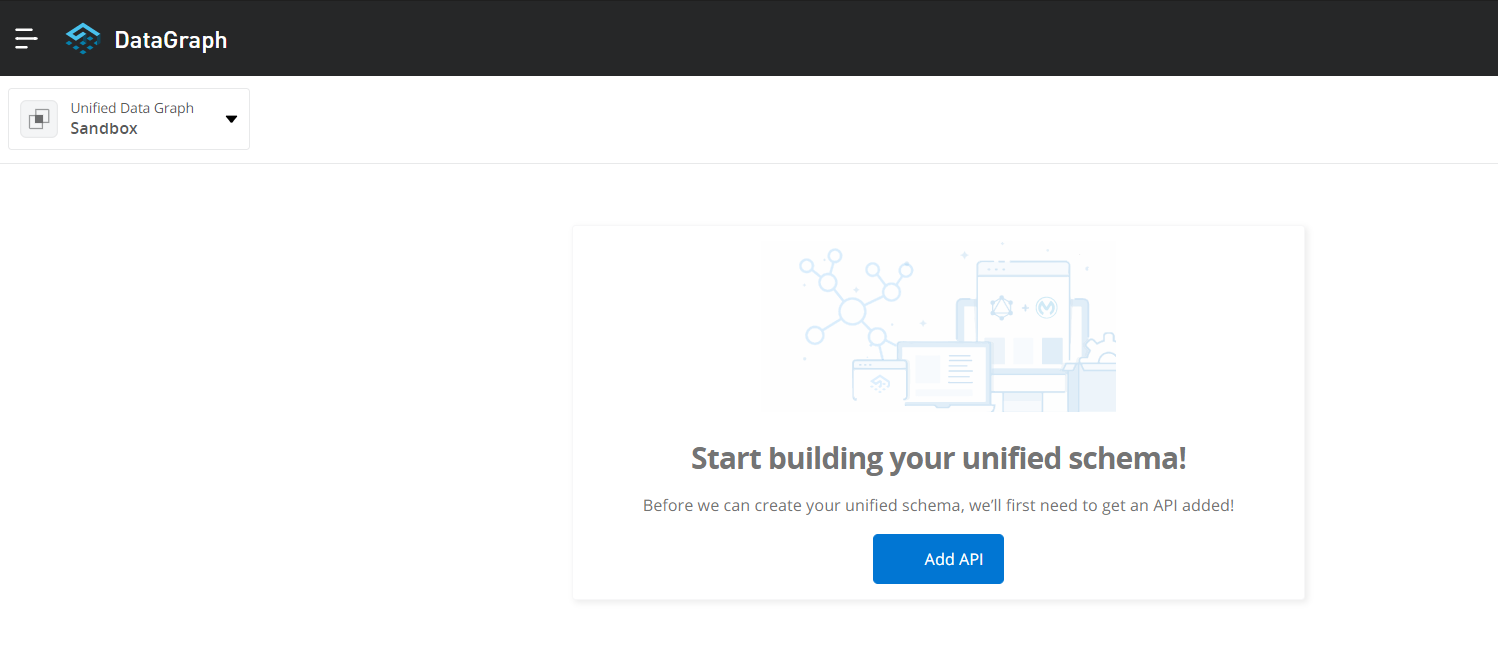
Click Add API
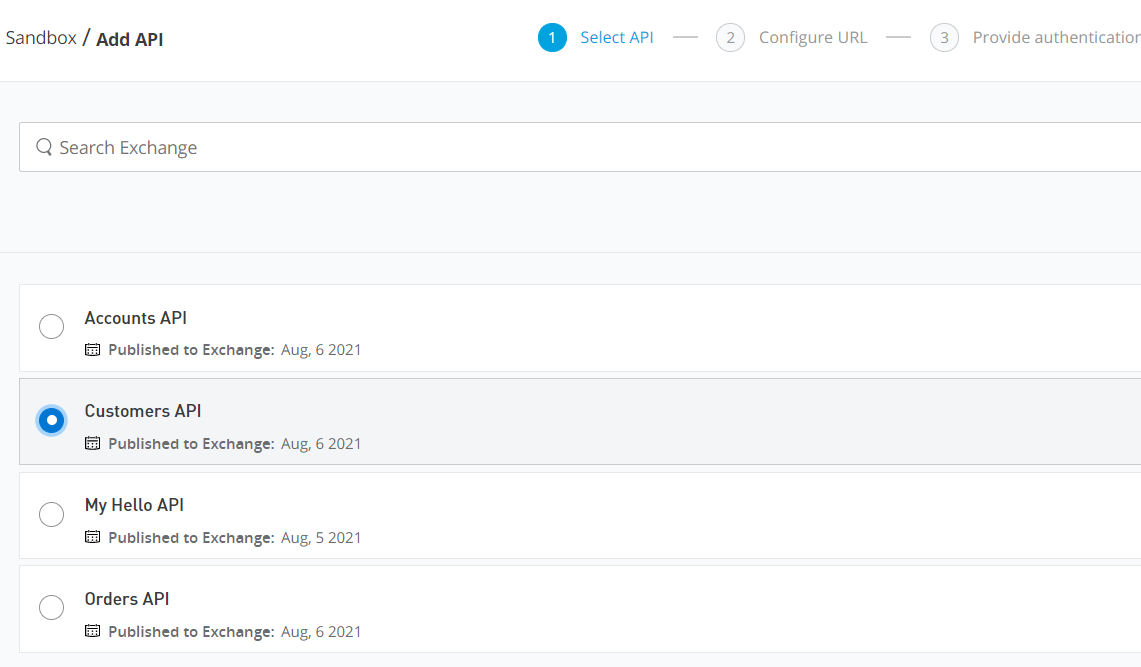
Select Customers API from the list of APIs in Exchange and click on Next: Configure URL
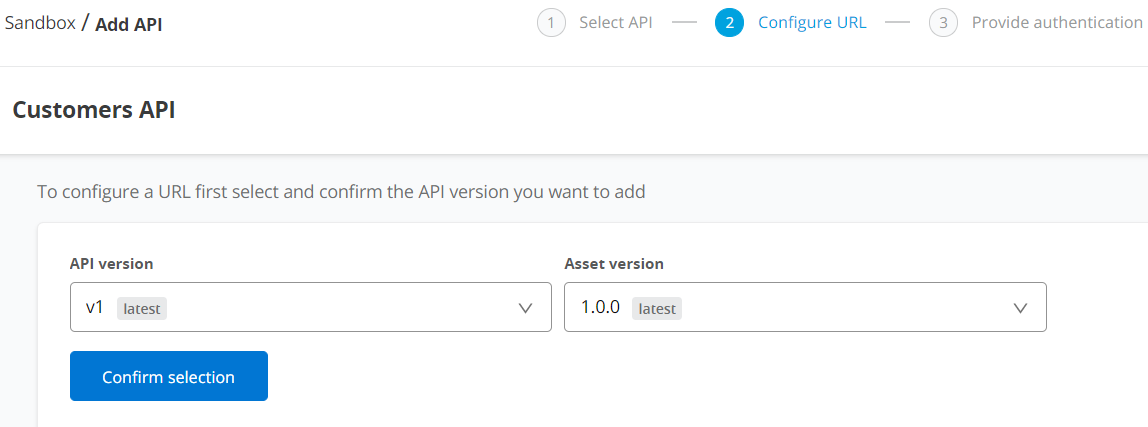
- Confirm the version of the API you want to add to DataGraph and click on Confirm selection.
- The URL for the selected API instance would have been pre-populated for you. If you don’t have an API instance in API Manager, then you would need to select the Add a new URL option and provide the implementation URL by clicking on the Edit URL button.
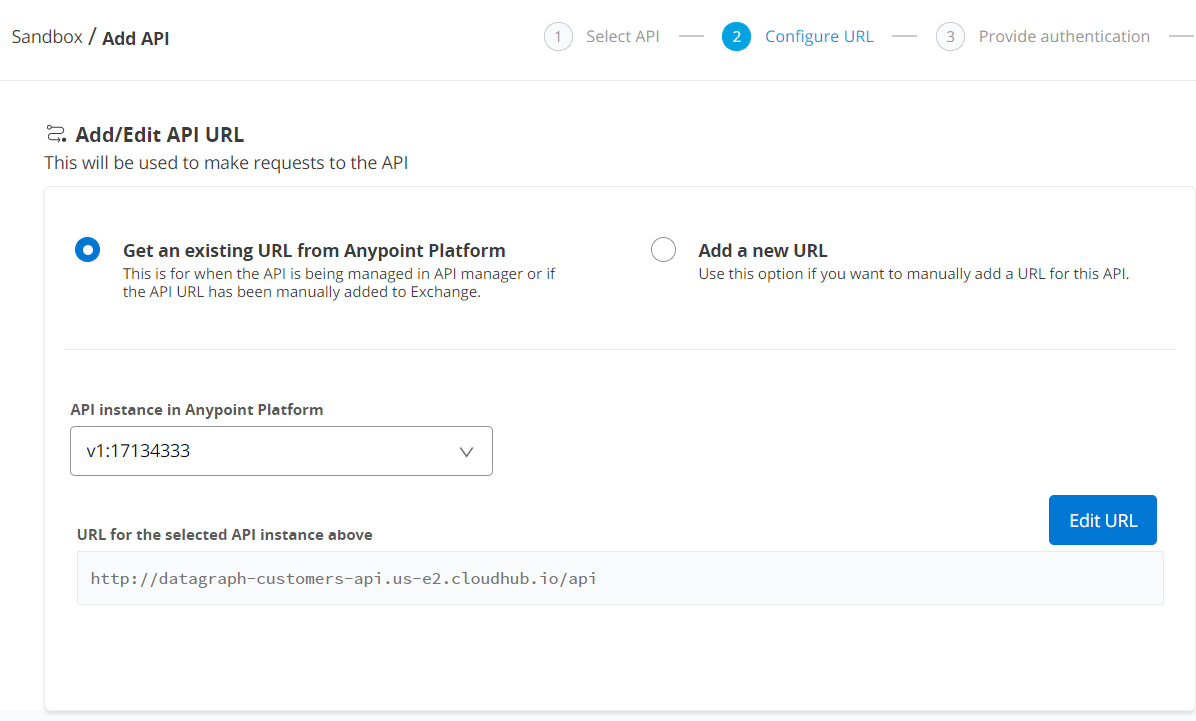
Click on Next: Provide authentication
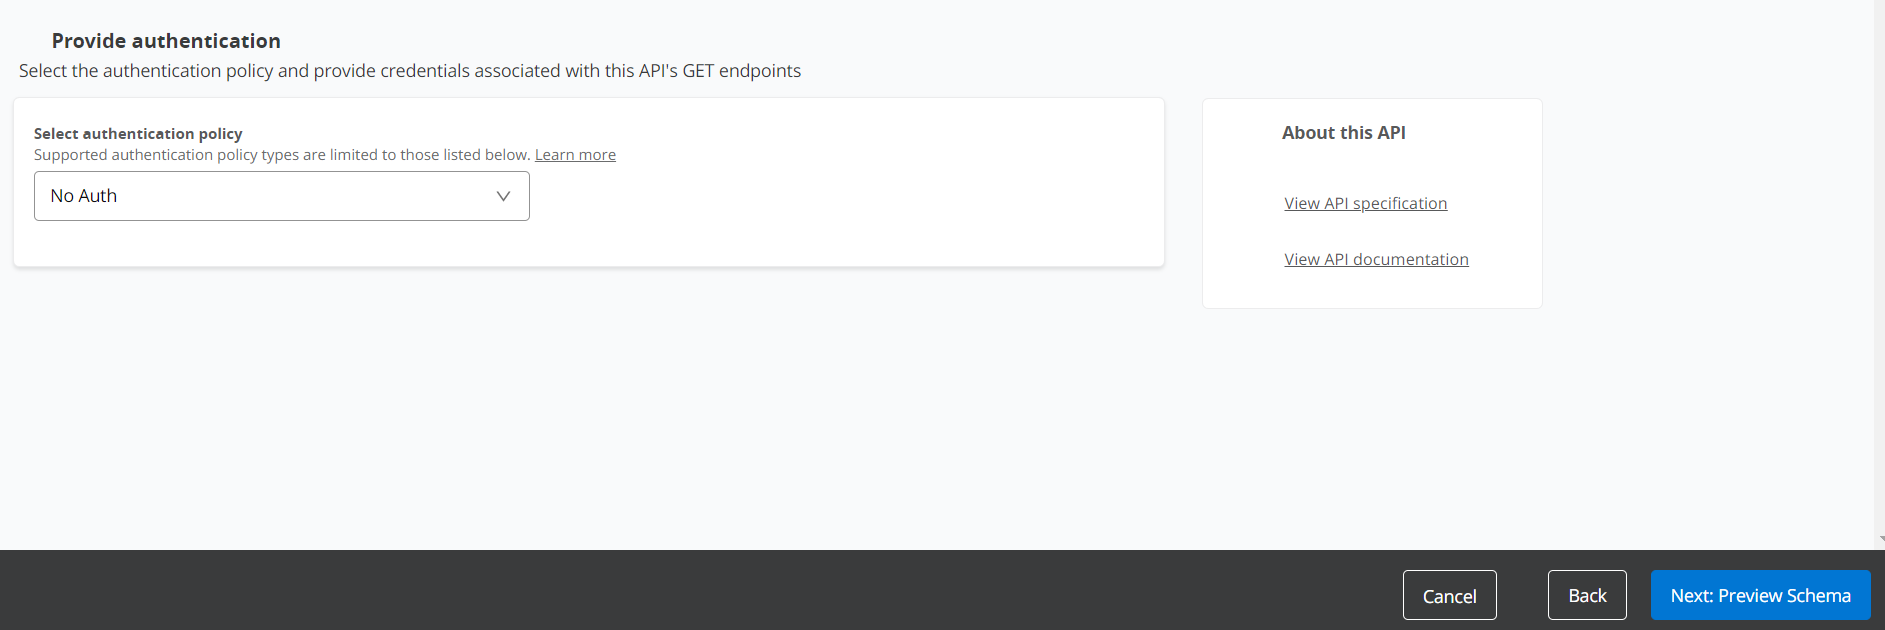
The APIs managed in the API Manager don’t have authentication configured, hence select No Auth from the dropdown and click Next: Preview Schema
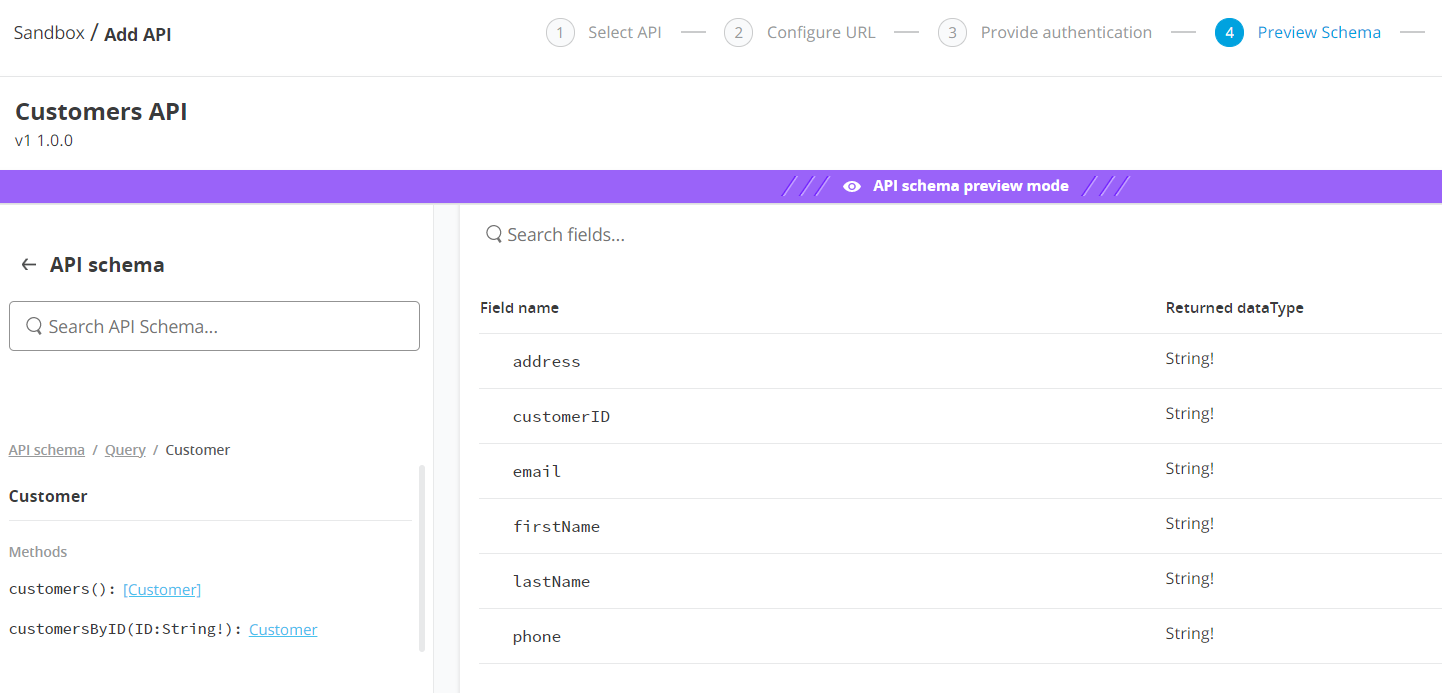
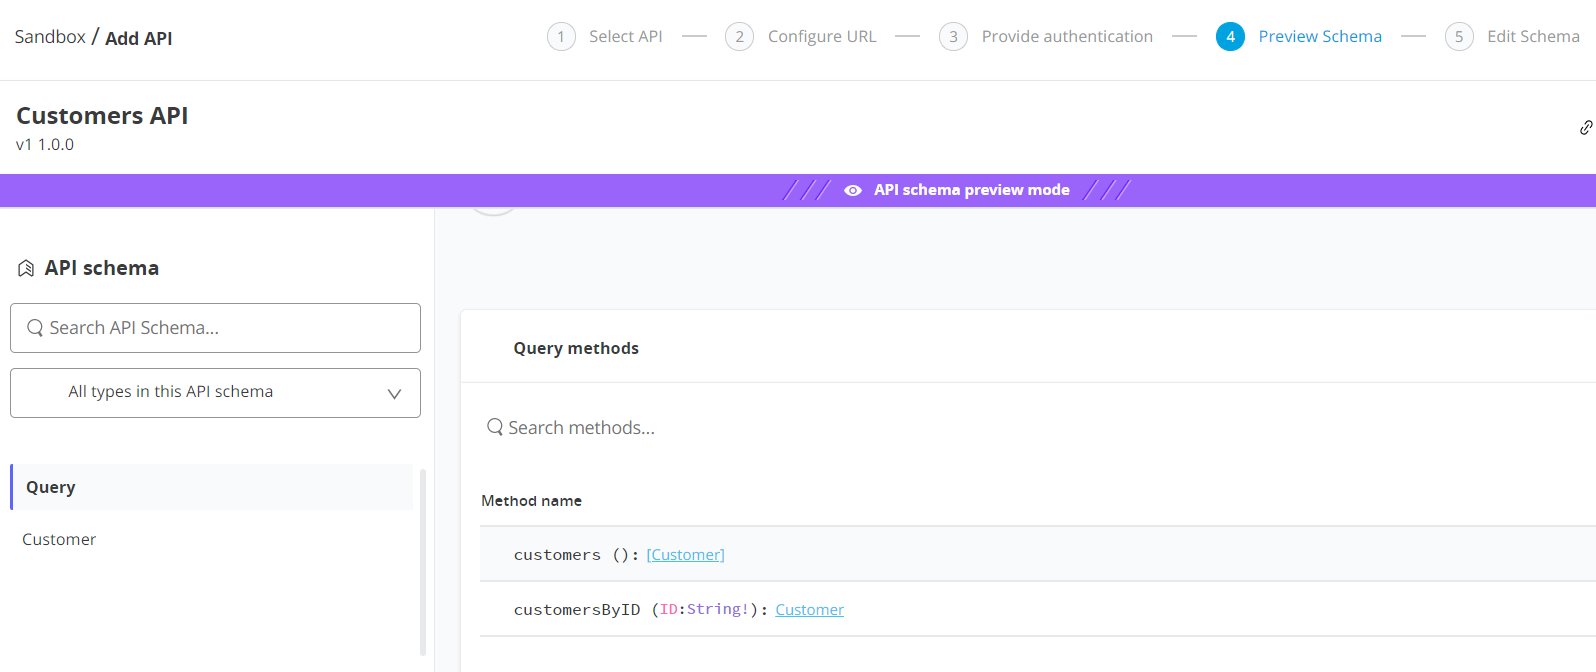
- Click on Preview Schema
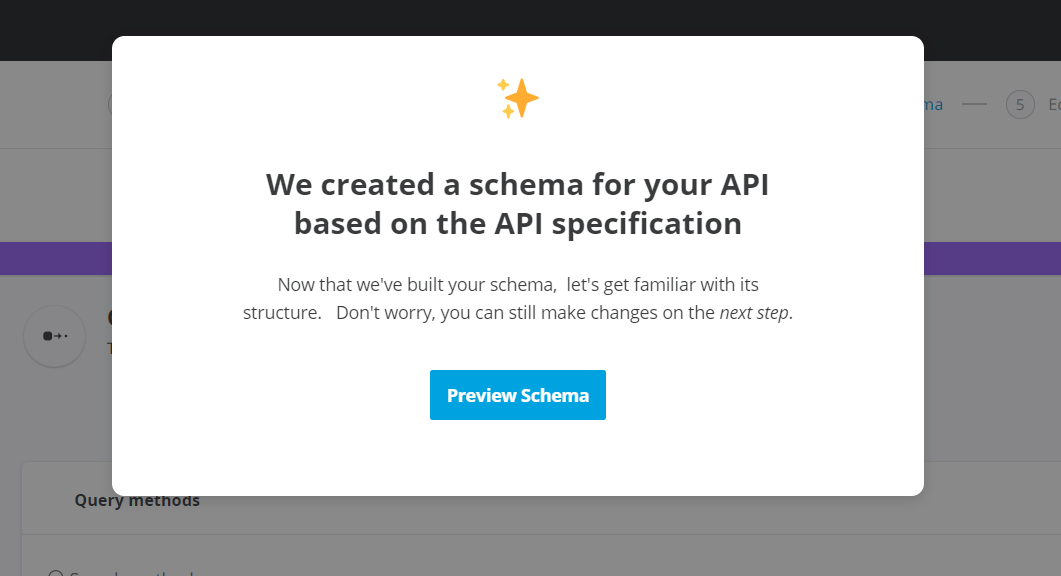
- Observe the Customer type and its method names specified and click on Next: Edit Schema
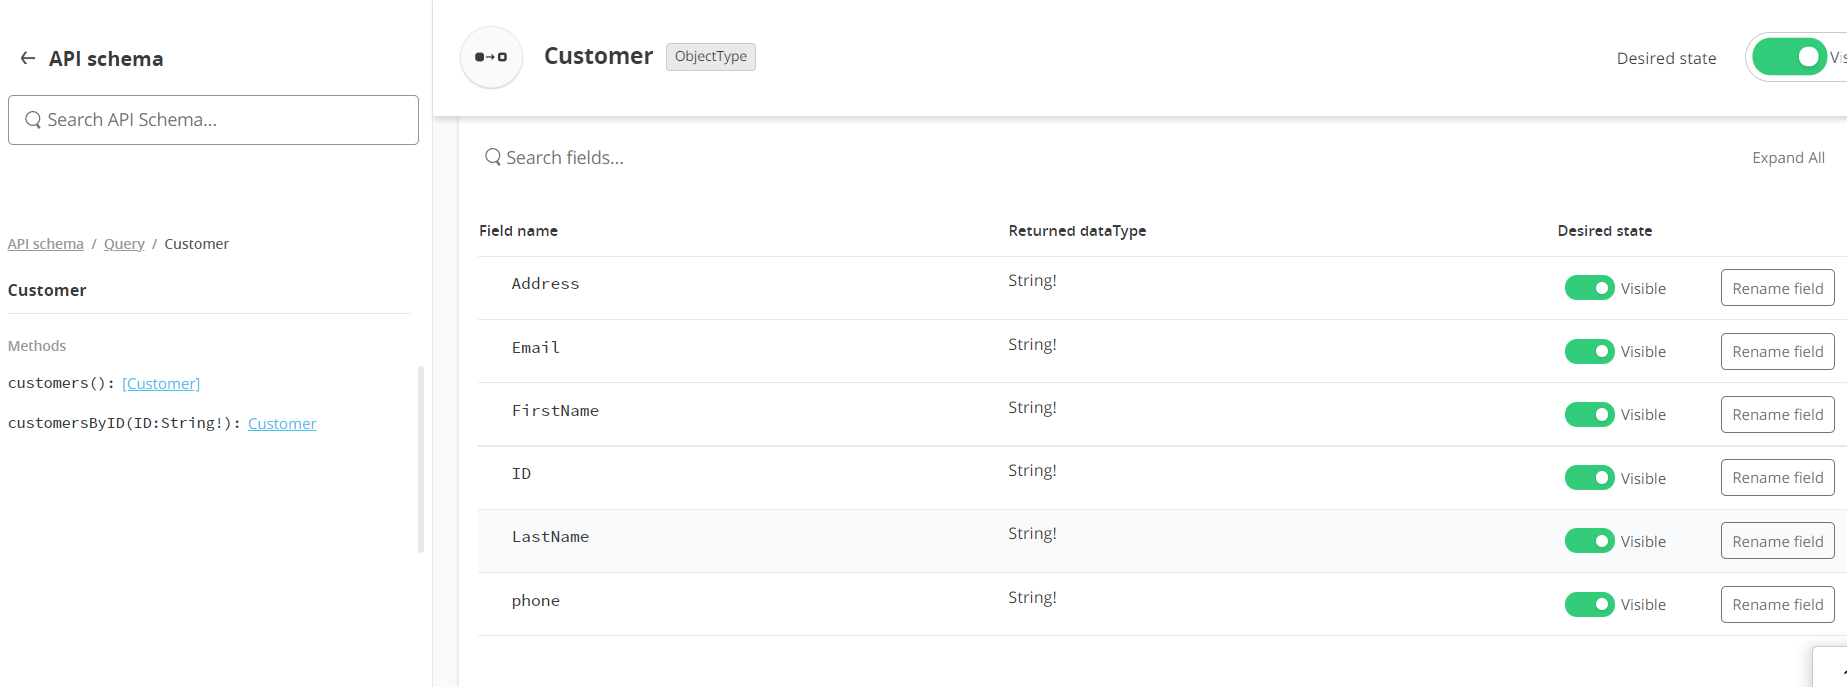
Click on the Customer type under level 1 types.
Make sure that the Customer type’s desired type is set to visible.
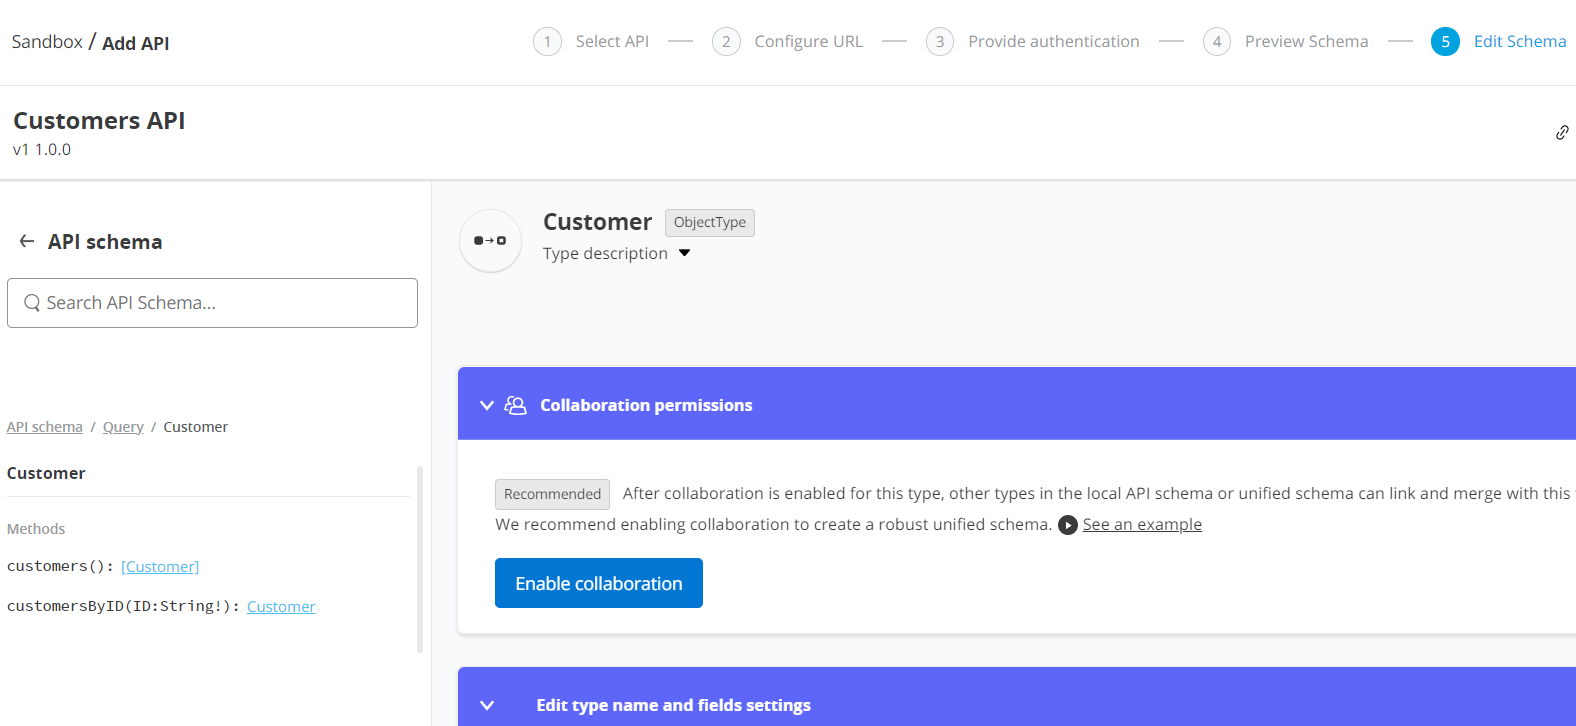
- In order to allow other types in the local API schema or unified schema link and merge with this type and extend their dataset you have to enable collaboration in order to create a robust unified schema. Hence, click on Enable Collaboration.
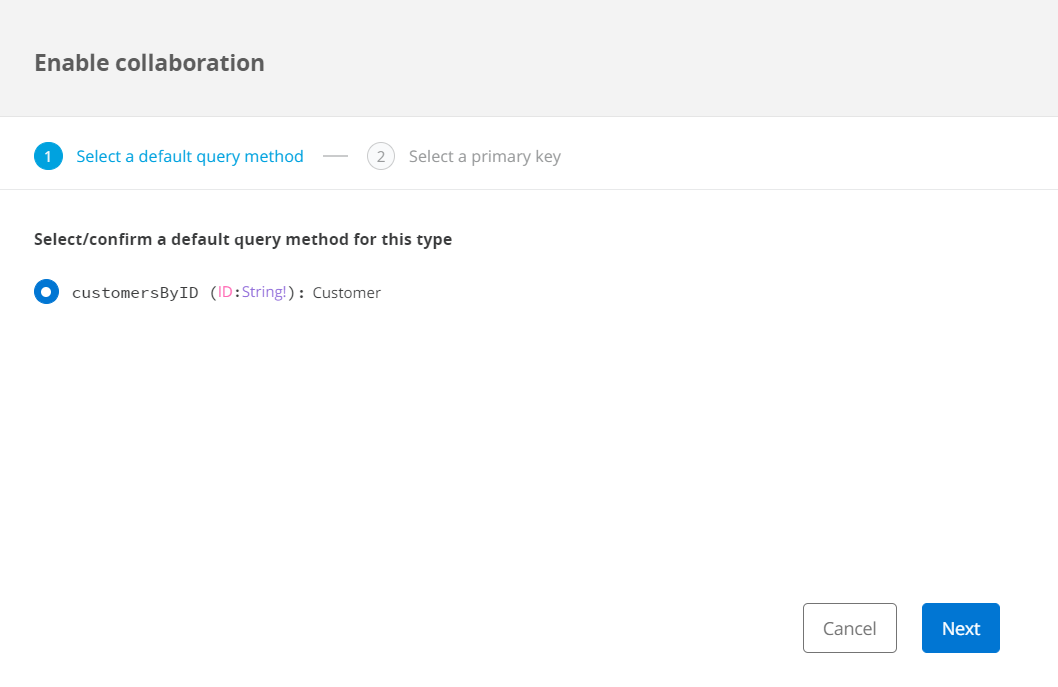
- When you click on Enable Collaboration you’ll be prompted to define the default query method. Select customerByID and click on Next.
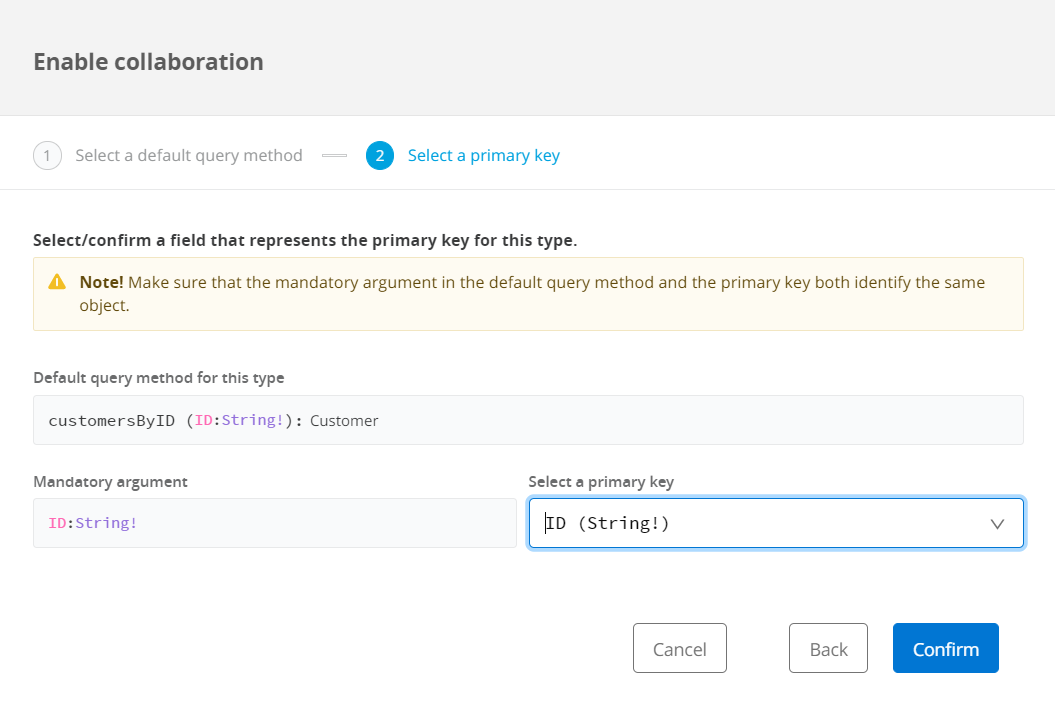
- Select the primary key as ID (string!) and click on Confirm.
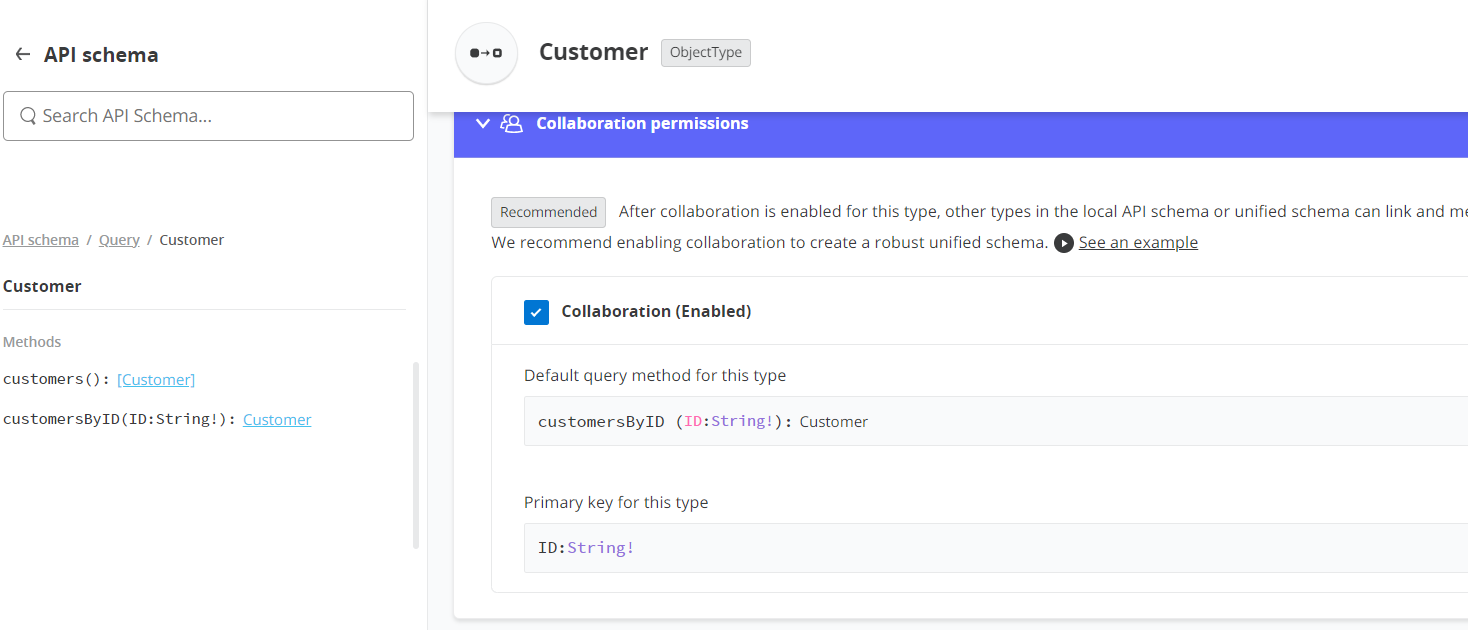
- Once confirmed you’ll have the following information for the Customer type regarding Collaboration Permissions
- Now click Next: Add to unified schema to proceed. The following message appears, just click on Proceed to unified schema.
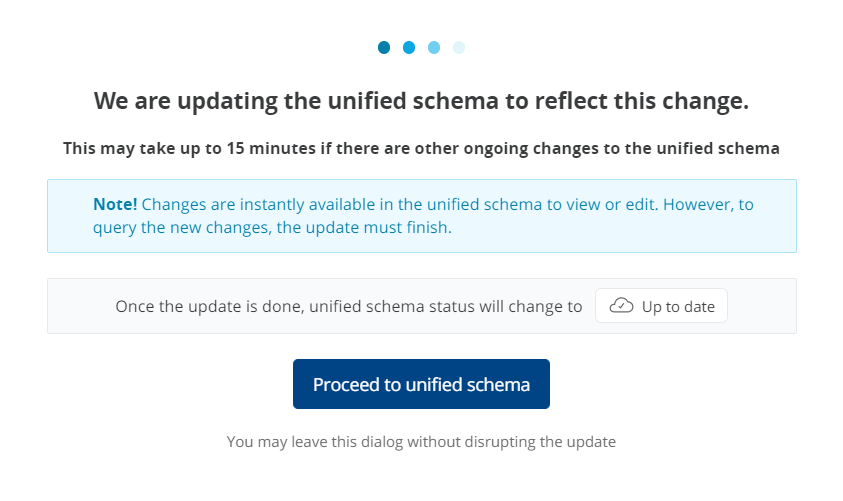
- As the previous message states, it can take a while to have the new data types reflected in the Unified Schema.
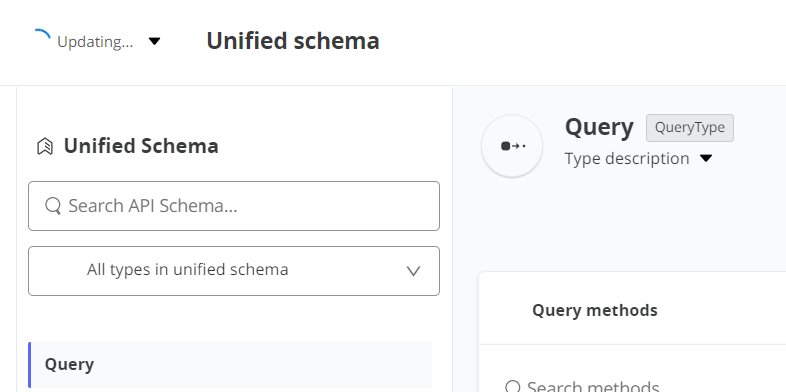
- After it shows updated, run a query button will be enabled. Click on Run a Query.

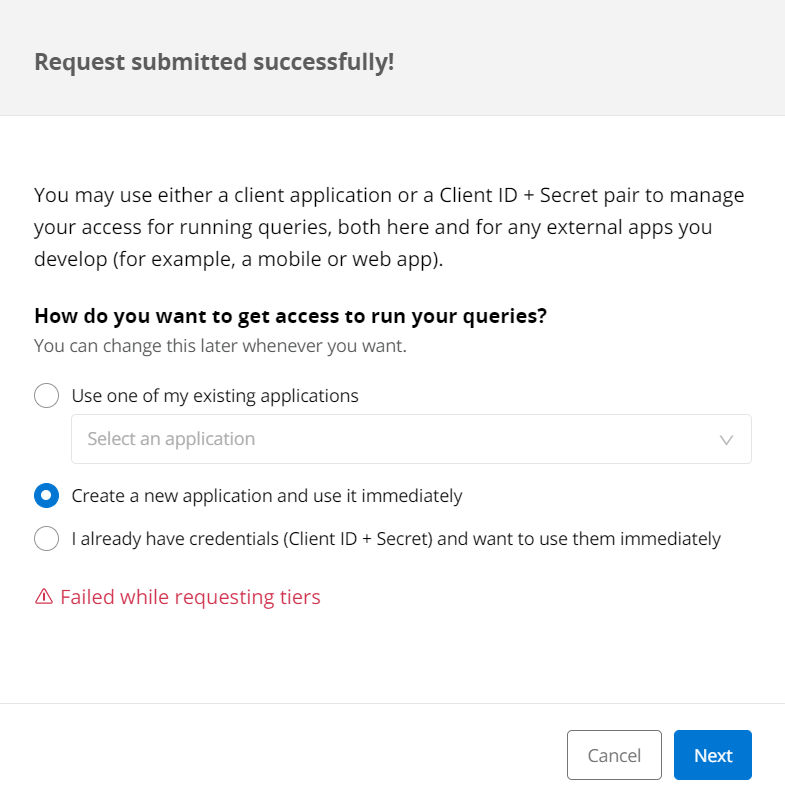
- It then asks you to create a client application. Select Create a new application and use it immediately option and click Next.
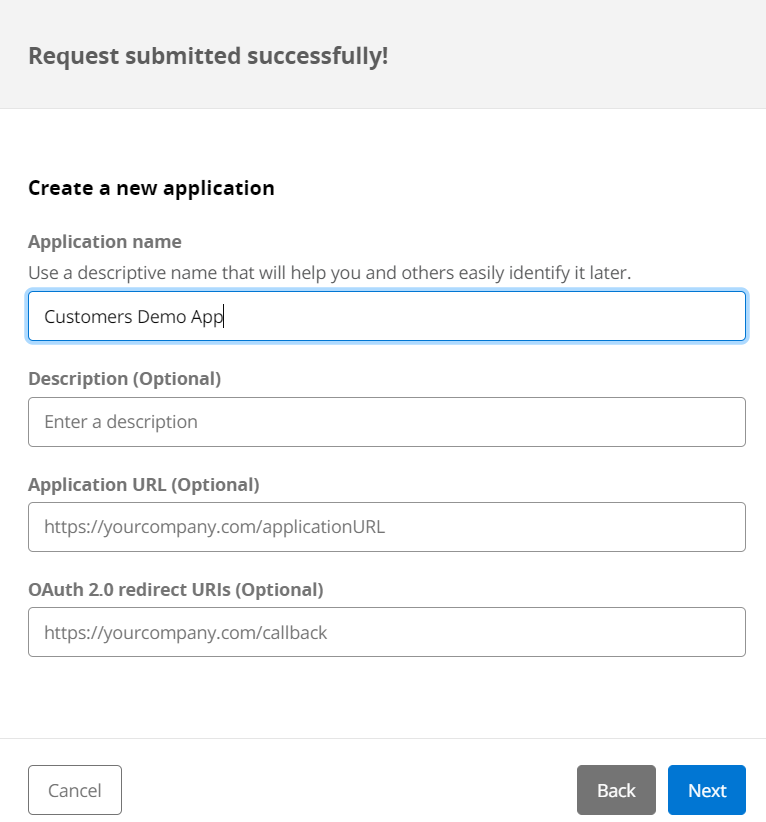
- Provide an Application Name and click Next.
- You will now see a query builder window where you can write your GraphQL queries to fetch the customer information.
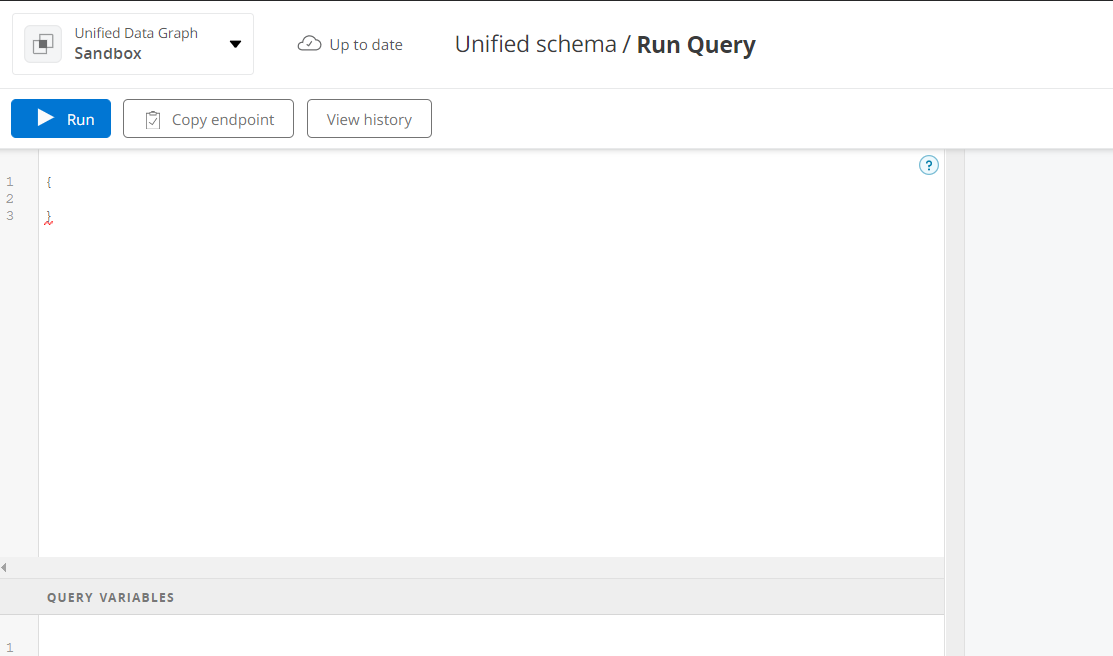
- Sample Output
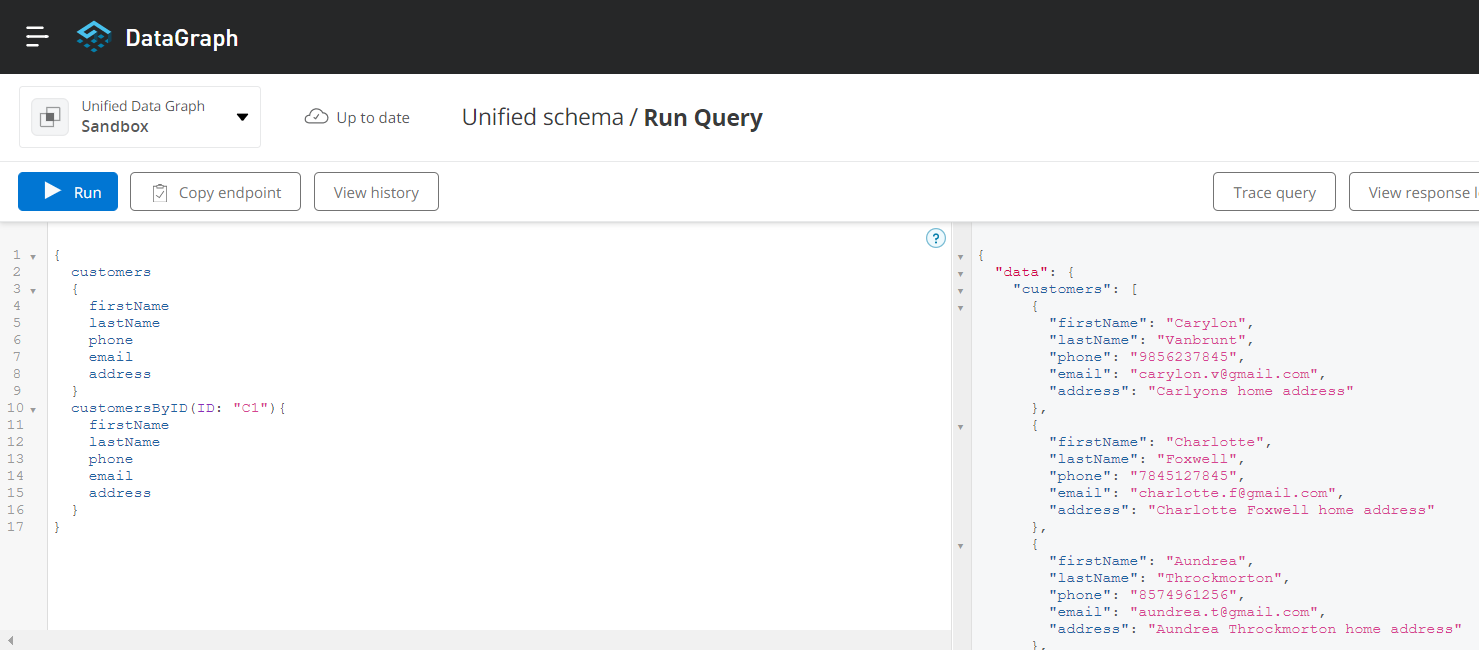
- Query
        {
          customers
          {
            firstName
            lastName
            phone
            email
            address
          }
          customersByID(ID: "C1"){
            firstName
            lastName
            phone
            email
            address
          }
        }
You have now successfully created an Anypoint Datagraph API from the Customers REST API. In the next blog, we will show you how to create a link between two types using a primary key.